


Replacing sealing gaskets
Replacing sealing gaskets: tips for each
Sometimes, in everyday life, whether it is repairing a house, car or even toys, we are faced with the need to replace sealing gaskets. Don't be scared! This process, although it may seem complicated, is completely fulfilled with our own hands if we approach it with understanding and patience. The main thing is to deal with the task, and not be afraid of its scale.
Choosing the correct laying: do not rush, think over
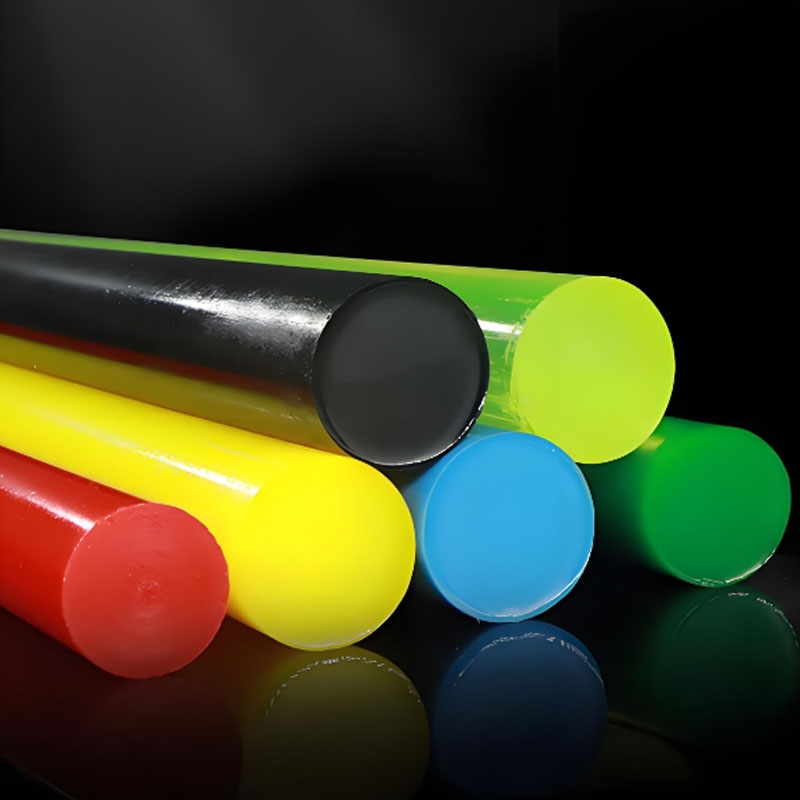
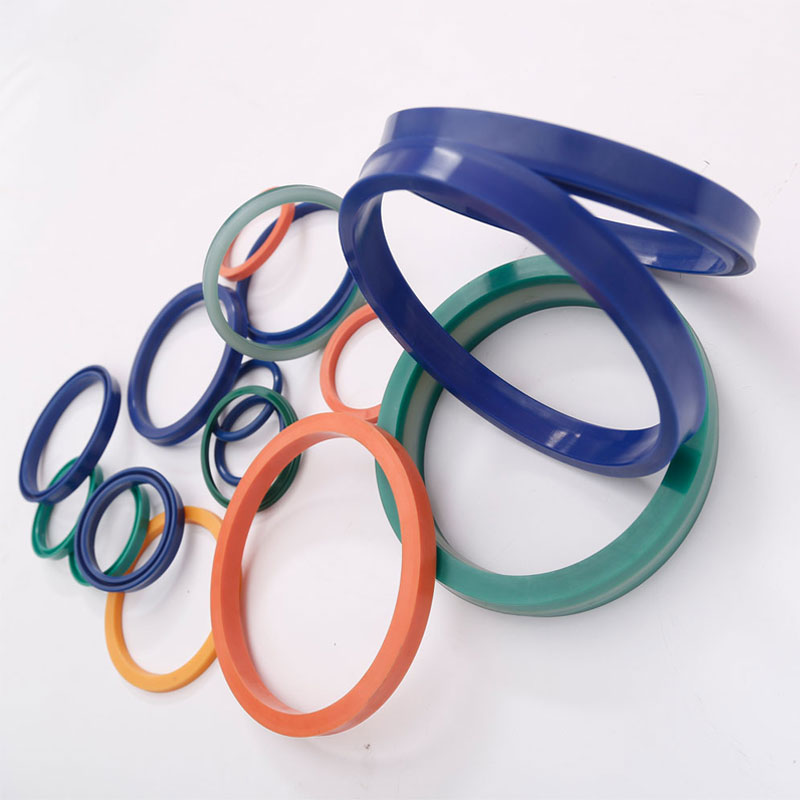
Before starting to replace, you need to make sure that you purchase a laying of the right size and material. The wrong choice can lead to leaks or other problems. If you doubt it, it is better to contact a specialized store or master who can help determine the right type of gasket. Consider what exactly it is in contact with: with water, gas, oil or other substances? The choice of the laying material should be selected based on these factors in order to avoid problems in the future.
Replacement process: step -by -step guide
Replacing sealing gaskets - most often the procedure is quite simple. First of all, it is necessary to turn off all communications (for example, water discharge, gas) and clean the surface on which the gasket will be installed. Then, using suitable tools (usually screwdrivers and keys), you dismantle the old gasket. It is very important to check if there are damage on the surface where a new gasket will be installed. If you see cracks or chips, they need to be eliminated to ensure a tight fit. Install a new pad, making sure of its correct position. And, of course, check if all communications are connected correctly.
Prevention: Prevent future problems
In order not to repeat this procedure too often, you need to monitor the state of sealing gaskets. Regular verification for damage and timely replacement is the key to long and uninterrupted operation of any mechanisms and structures. Do not ignore even slight damage, as they can eventually lead to serious consequences. This will save time and money, preventing possible breakdowns and leaks.
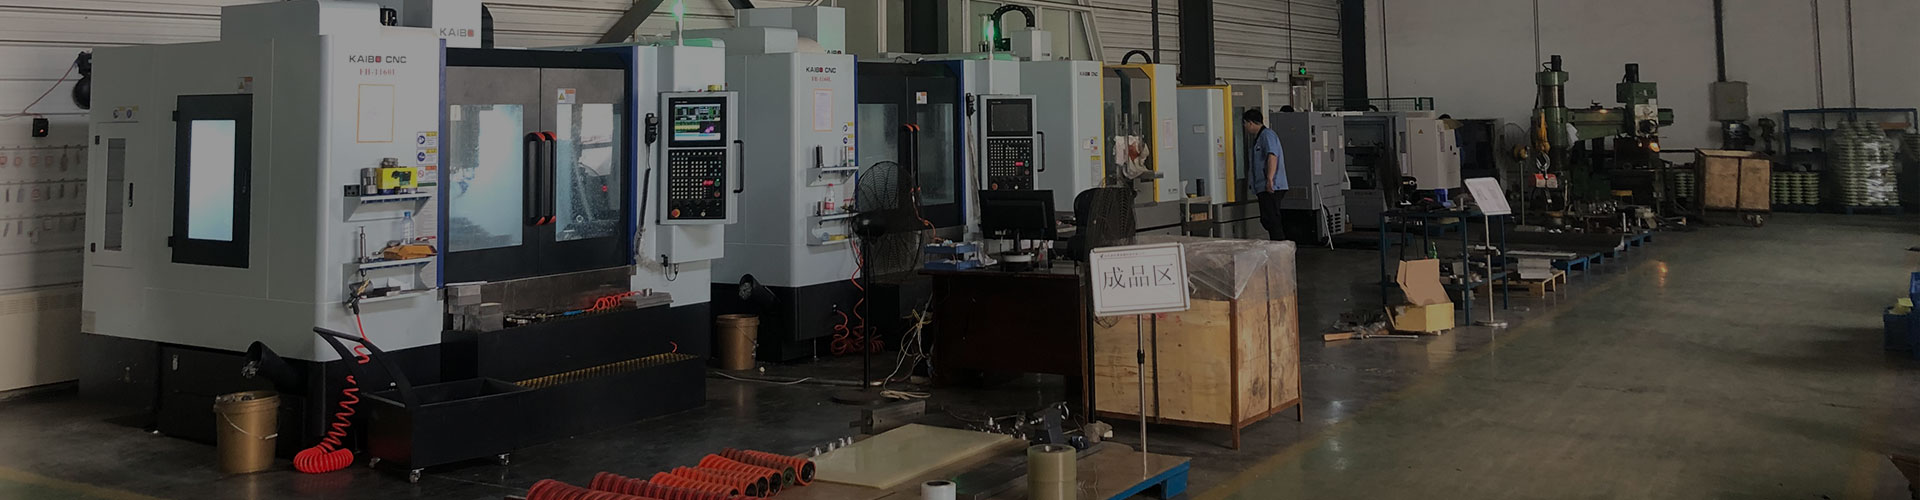
AppropriateProducts
Corresponding products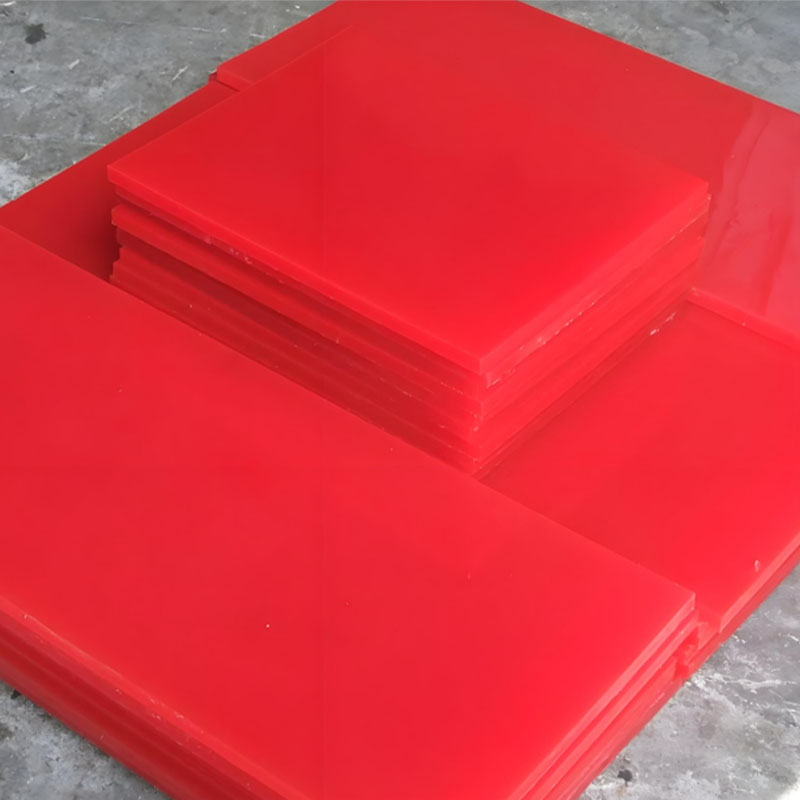
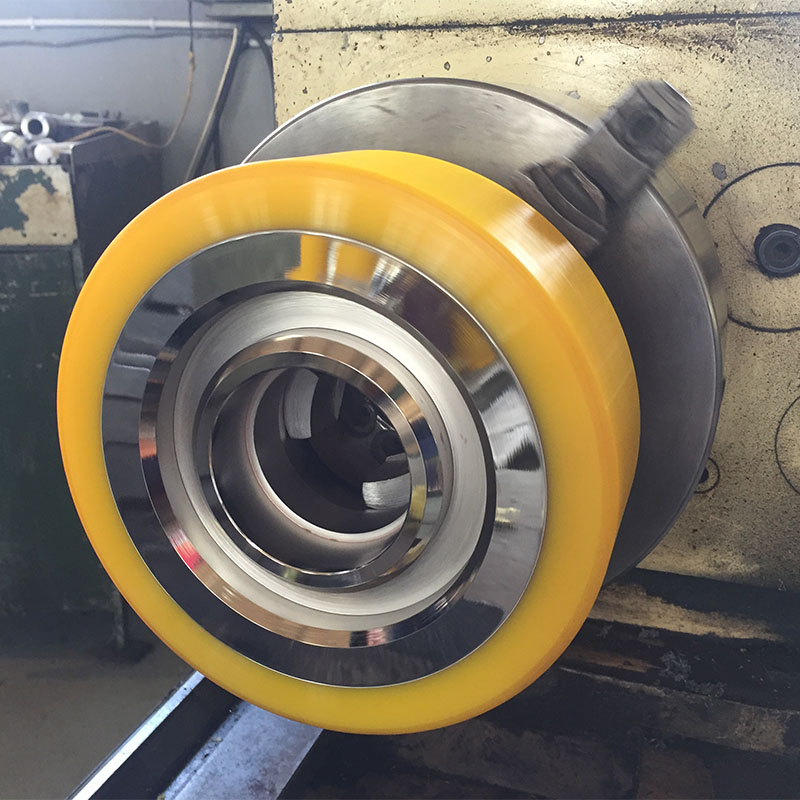
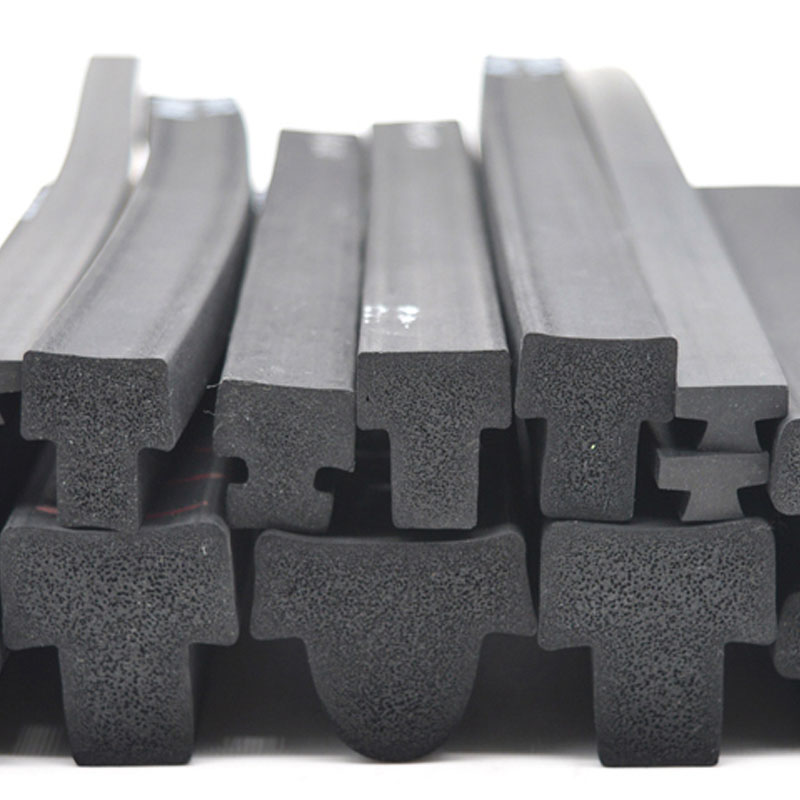
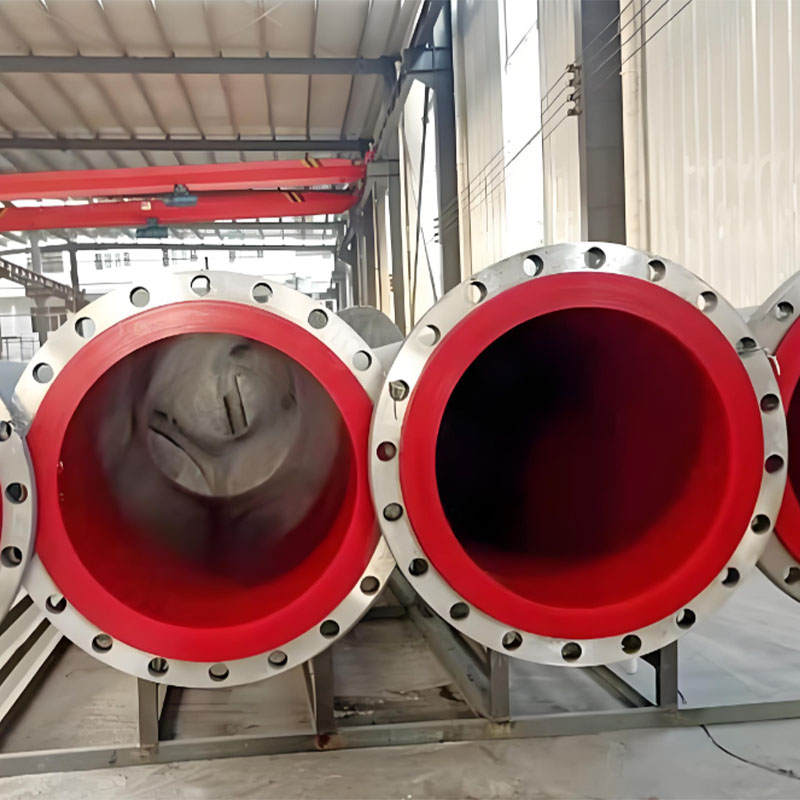
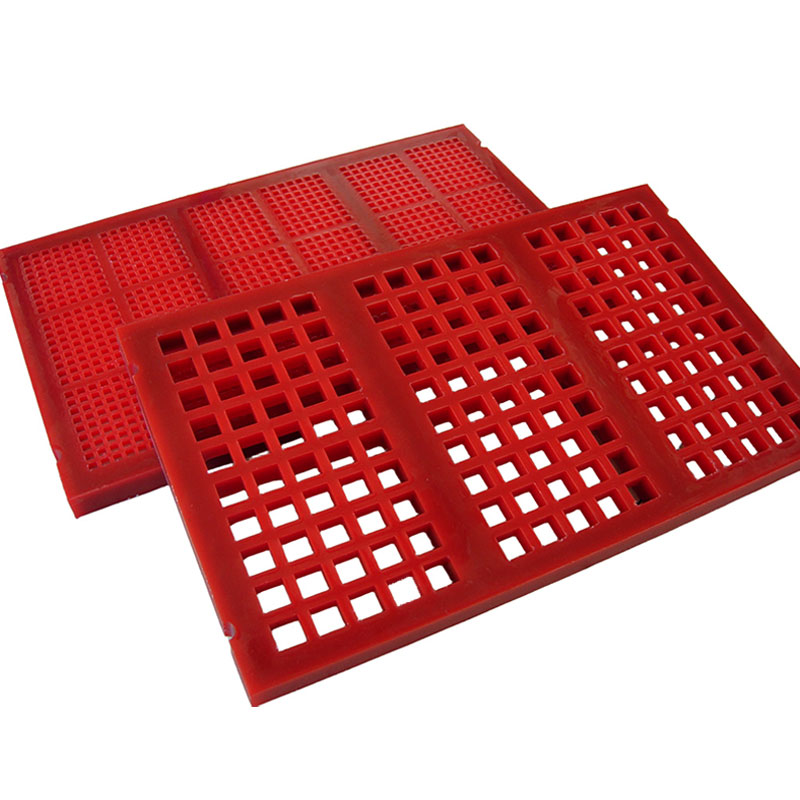
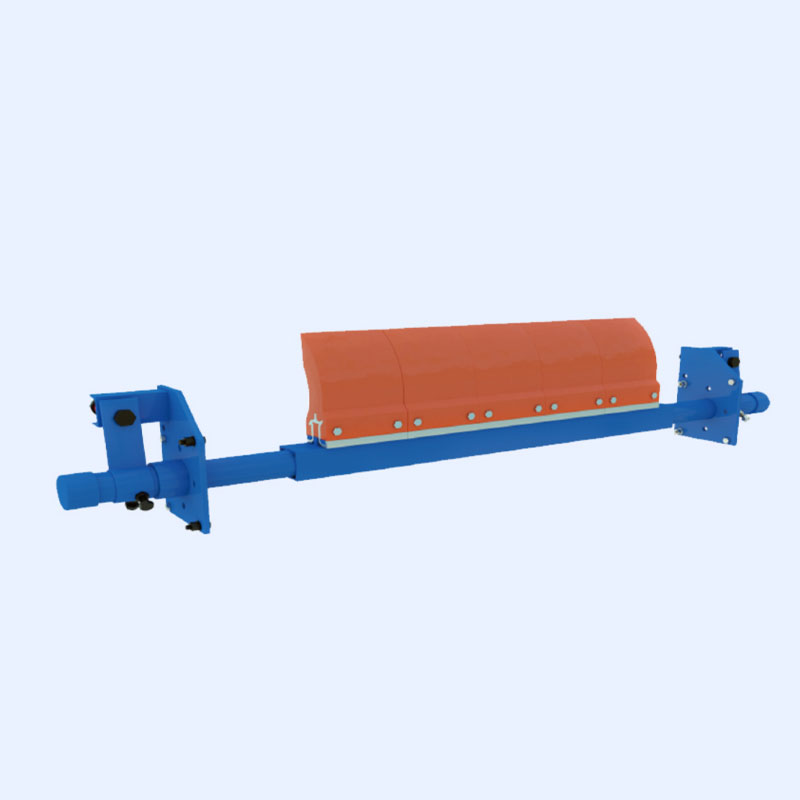
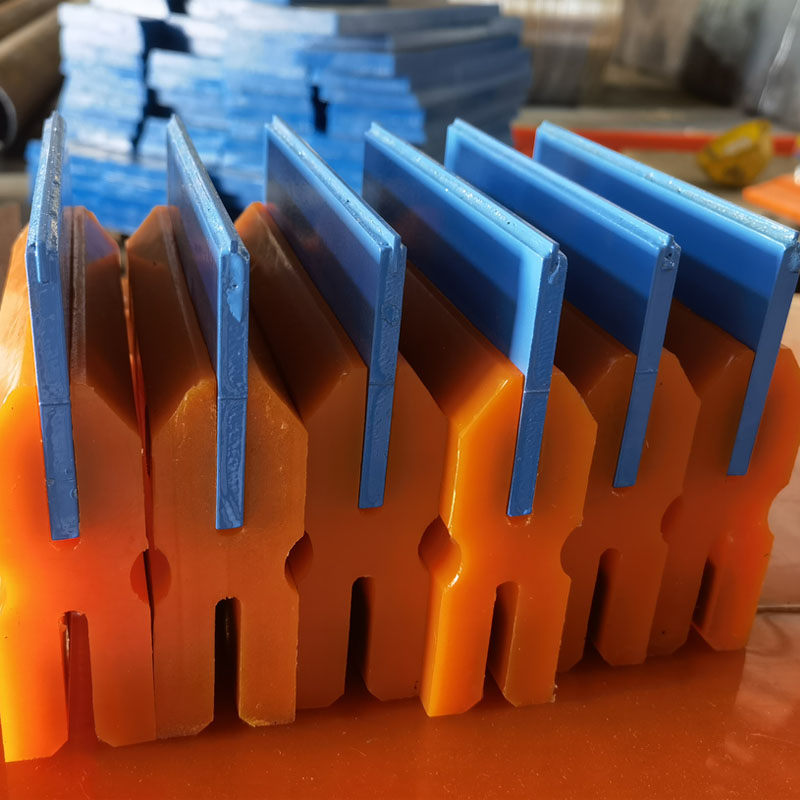
The best soldproducts
The best -selling products

Connectedsearch
Related search- Chinese factories for the production of driven gear pulleys
- Types of conveyor rollers
- Draining sealing rings suppliers in China
- The price of the rings are sealing karmas in China
- Chinese manufacturers of driftwood drives
- The best countries-buyers of round goals of rubber sealing rings in China
- Conveyor smooth videos in China
- Manufacturers of polyurethane wheel axes from China
- buffer block
- Caterpillar manufacturers in China